
Data Policy
Definition:
A Data Policy is a server-side rule that enforces data consistency and integrity by setting fields to mandatory or read-only based on specified conditions. It applies to all data entry methods, ensuring rules are followed regardless of how records are created or updated.
- Web services/APIs
- Import sets
- Email integrations
- Mobile UI
- Scripted updates
Steps to create Data Policy:
- Navigate to the Application Menu, search for Data Policies, and select Data Policies under the System Policy
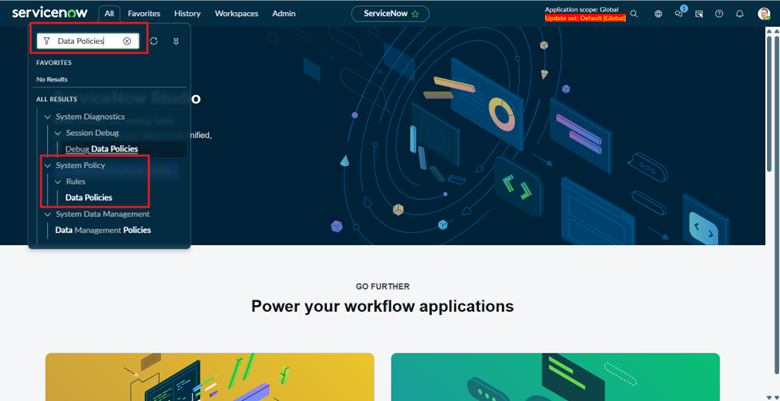
- After clicking this, we are redirected to the form shown below, where the next set of configurations can be performed.

- Here is short description about checkboxes that are present on the Data Policy form:
- Use as UI Policy on client – Applies the Data Policy on the client side like a UI Policy, without writing scripts.
- Inherit
When enabled, this UI Policy is inherited by child tables of the current table. If unchecked, the policy applies only to the current table. - Reverse if false
Automatically reverses the UI Policy actions when the condition becomes false. This ensures fields return to their original state without needing extra logic. - Apply to import sets
Applies the UI Policy during data imports via Import Sets. Useful when you want the same rules enforced on imported records. - Apply to SOAP
Ensures the UI Policy is applied when records are created or updated through SOAP web services.
Example:
When Data Policy is applied to a field, it is enforced even during data imports from external sources. While importing data, the system checks whether a Data Policy exists on the target table and field. If the imported value violates the policy (for example, a mandatory field is left empty), the record will not be inserted or updated.
This ensures data consistency and validation, regardless of whether the data is entered manually or imported.
- To implement this requirement, we create a table called User Details.
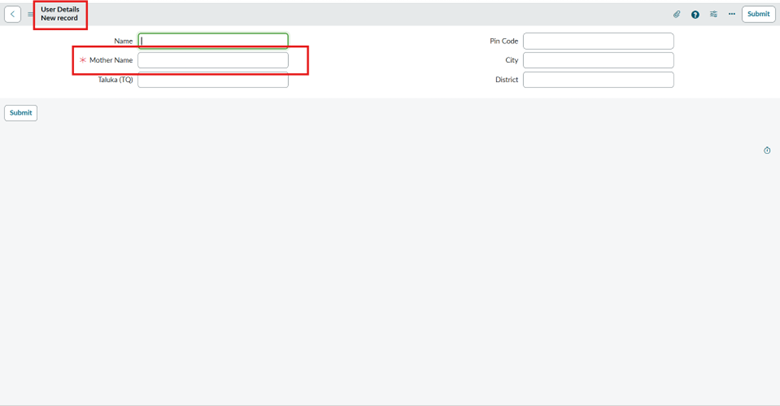
- In this example, we apply Data Policy on a field to enforce validation, as shown in the screenshot above.
- In the next step, we import anonymous data from an external source like Excel to validate the applied Data Policy.
- Navigate to the Application Menu and search for Load Data to begin the import process.
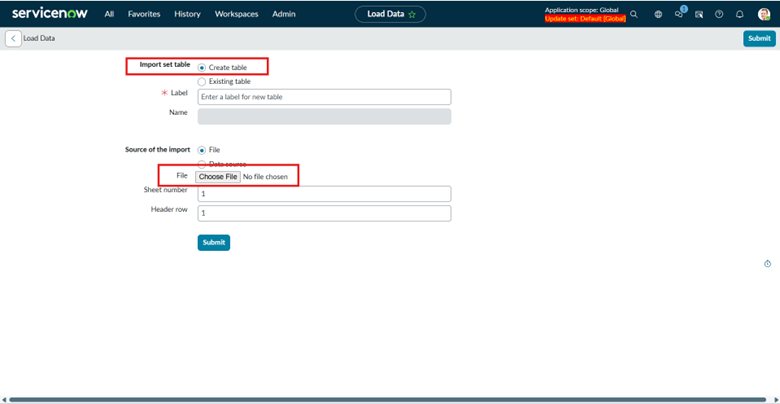
- Select the Create Table option, then click Choose File to upload the source file.
- Once the data file upload is complete, this page appears to continue the import process
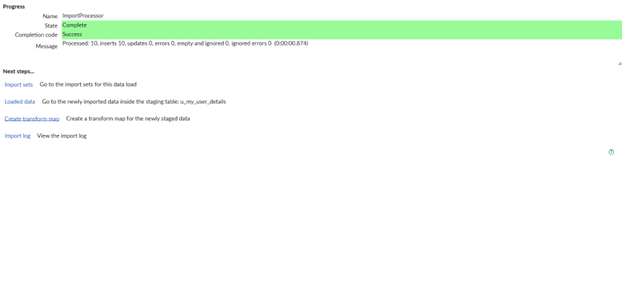
- This means your data has been uploaded and is ready for the next step.
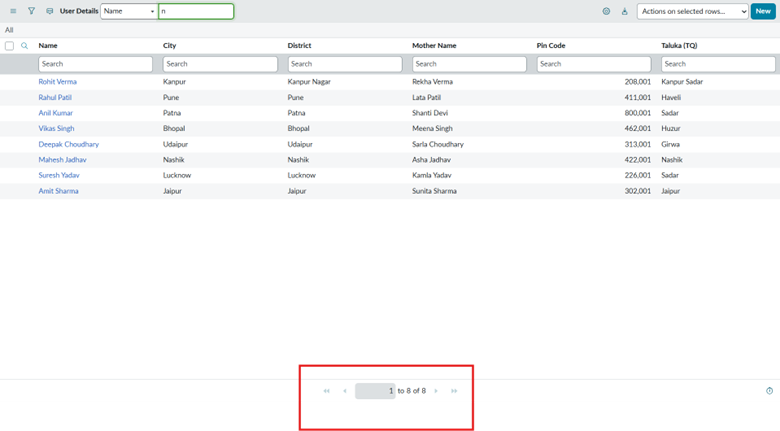
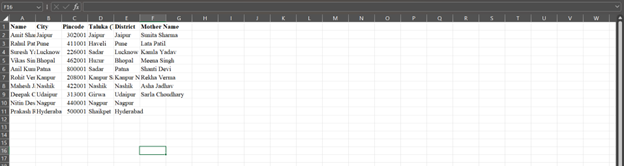
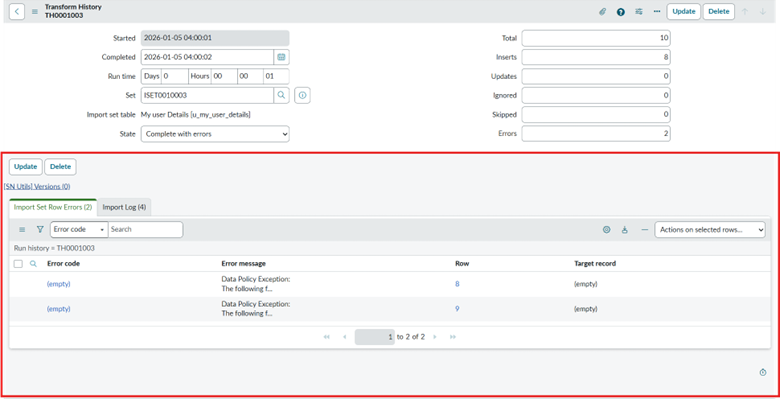
- We attempted to upload 10 records from the Excel file; however, only 8 records were successfully uploaded due to validation rules.
- This happens because of the applied Data Policy. The Data Policy is enforced on the Mother Name field, and in the imported data, the last two rows don’t have values for this field. As a result, those records fail to the Data Policy validation and are not imported, while the remaining records are successfully accepted.
Data Policy