
UI Policy
UI Policy is a client-side configuration rule that dynamically controls the behavior of form elements (such as fields, sections, or related lists) based on specified conditions. It allows administrators to make fields mandatory, read-only, or visible/hidden without writing code, ensuring a better user experience and data integrity directly in the user interface. UI Policies apply to forms and execute them in the browser. They are stored in the ‘sys_ui_policy’ table, with associated actions in sys_ui_policy_action.
A UI policy is a client-side rule that dynamically controls form behavior based on specific conditions. It allows administrators to easily make fields mandatory, read-only, or visible/hidden without writing code, improving user experience and data integrity by adapting the interface in real-time as users interact with the form. For more complex logic, UI policies can include optional scripts, but they are preferred over client scripts for simple UI changes due to faster performance and easier maintenance.
Steps to create UI Policy:
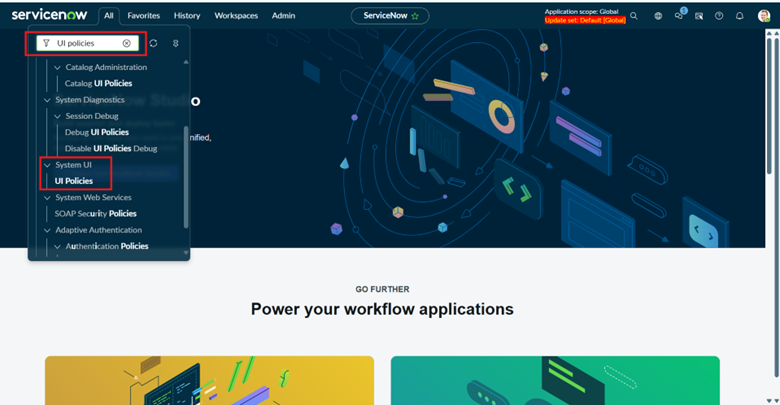
- Go to Application menu and search UI policies under system UI find the UI Policies
- After searching and navigating it, and then creating a new entry, you will see a form like this.
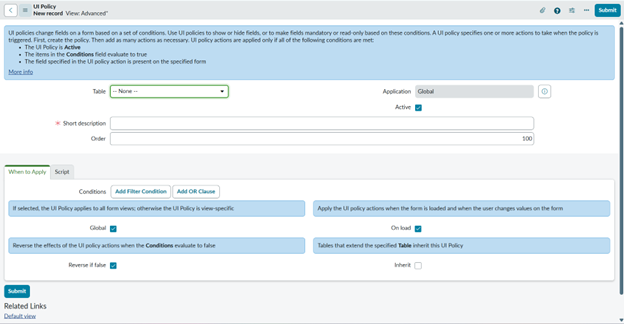
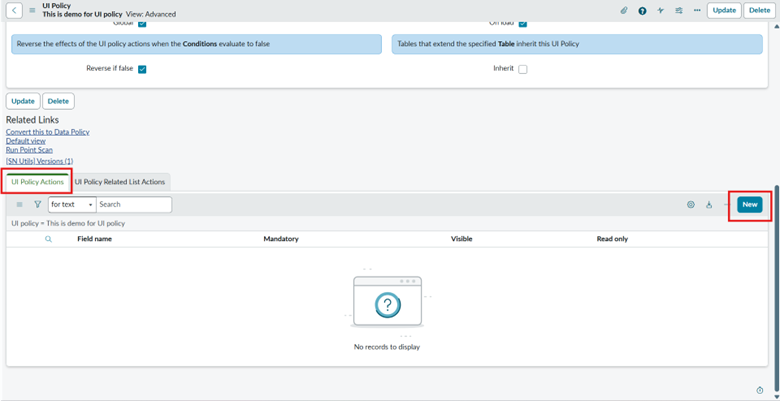
Here is a Simple explanation of the checkboxes present on this form:
- Active – Enables or disables the UI Policy. The policy works only when this is checked.
- Reverse if false – Reverses the UI Policy actions when the condition evaluates to false.
- On load – Executes the UI Policy when the form is loaded.
- On change – Executes the UI Policy when the specified field value changes.
- Global – Makes the UI Policy applicable across all views of the form.
- Inherit – Allows child tables to inherit this UI Policy from the parent table.
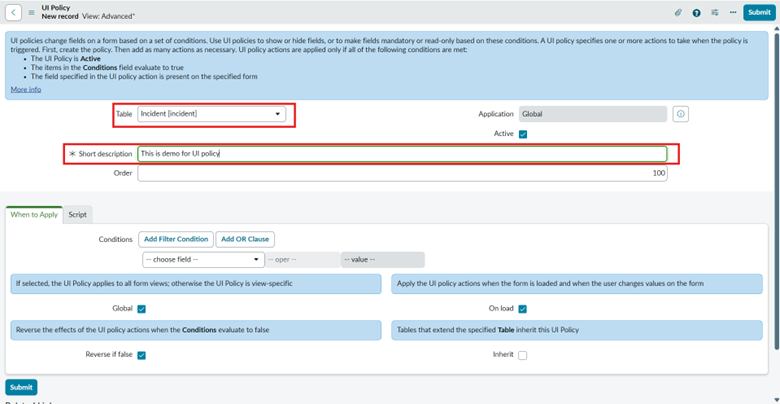
- Then, select the table on which the UI Policy needs to be applied. For example, as shown in the screenshot below, the Incident table is selected. Also, make sure to mention Short Description, as it is a mandatory field.
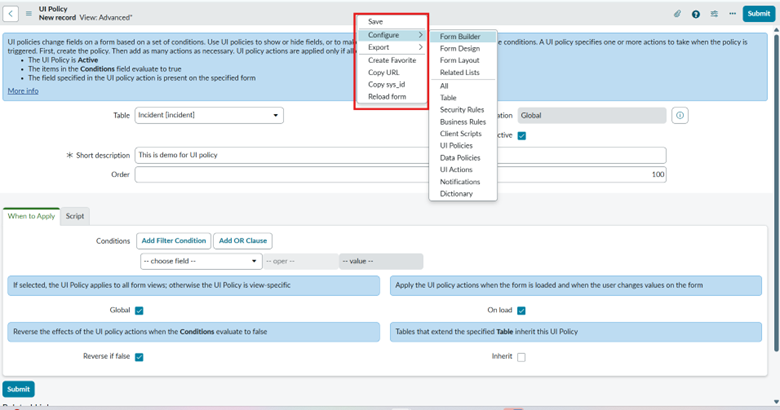
- After entering the details, do not submit the form directly. Instead, right-click on the top grey strip and select Save to save the form.
- After saving the form, you will see the Sections. Within these sections, you need to create UI Policy Actions for the field on which you want to apply the policy.
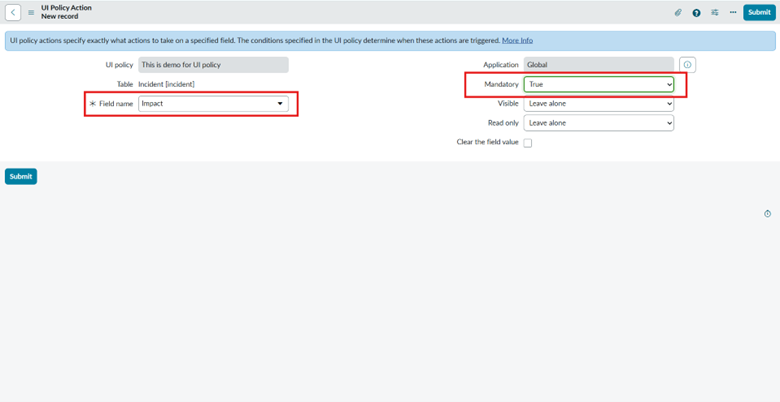
Example:
- Since Incident is selected, choose the specific field on which you want to apply the UI Policy. Then, define how the policy should behave for that field—for example, set Mandatory = True, as shown here, to make the field mandatory.
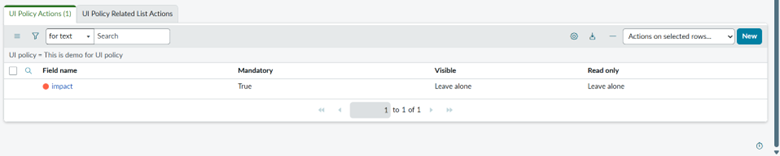
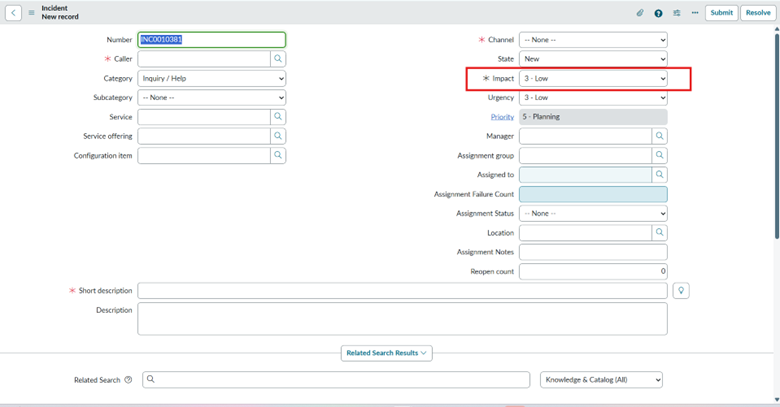
- Here is the output shown below.
UI Policies in ServiceNow are a powerful, no-code tool for dynamically controlling form behavior, such as setting fields to mandatory, read-only, or visible/hidden based on conditions. They enhance data quality, streamline user experience, and are the recommended approach for simple client-side UI modifications due to their superior performance and ease of maintenance compared to client scripts. For more advanced needs, UI policies can incorporate scripts, but for straightforward changes, they remain the efficient and preferred choice.