Email Inbound/Outbound Action
In ServiceNow, inbound and outbound is used to exchange the data between ServiceNow and external systems.
For example: If an email subject contains “Network Issue”, ServiceNow automatically creates an Incident and assigns it to the Network team.
Now let’s see one example, if anyone reply from an email how it works in ServiceNow.
Example Setup:
In this example, we will first explain how to enable 2-Step Verification for the Gmail account that will be used. Go to Manage Your Google Account, navigate to the Security section, and activate 2-Step Verification by following the on-screen instructions. This ensures secure authentication before integrating the email.
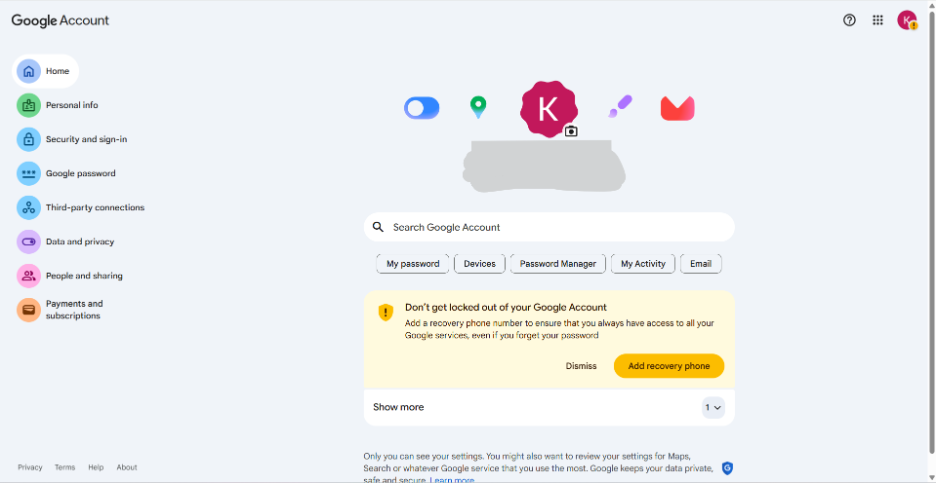
- After completing the above step, then go to create the passkey for the Gmail account.
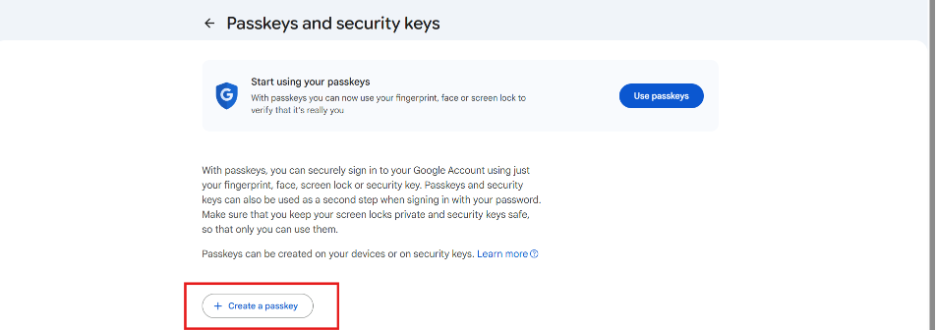
- Copy the generated passkey and temporarily save it in the clipboard or Notepad for future use.
- After that, log in to the PDI and search for an Email Account. In the Application Navigator, navigate to System Mailboxes → Administration → Email Accounts and go to module.
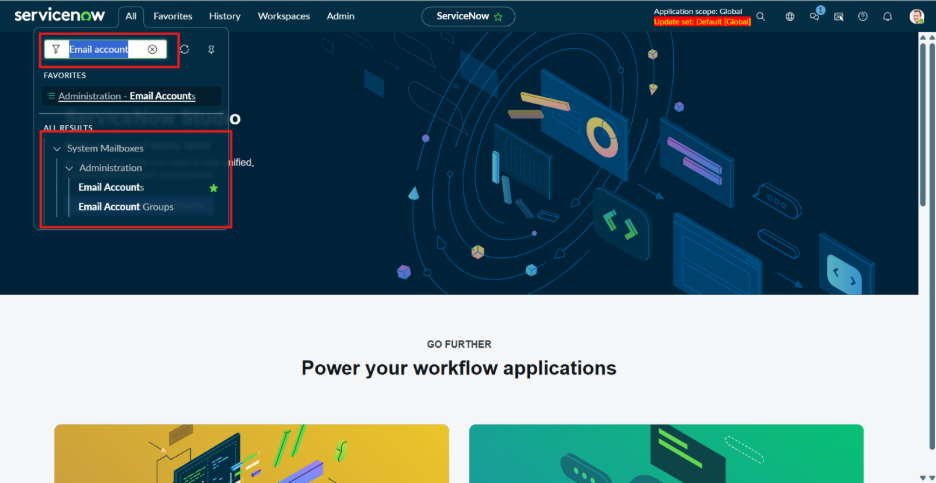
- Click on the Email Accounts module, select New, and fill the data into fields. Aslo, create a user account and give the user some Email address.
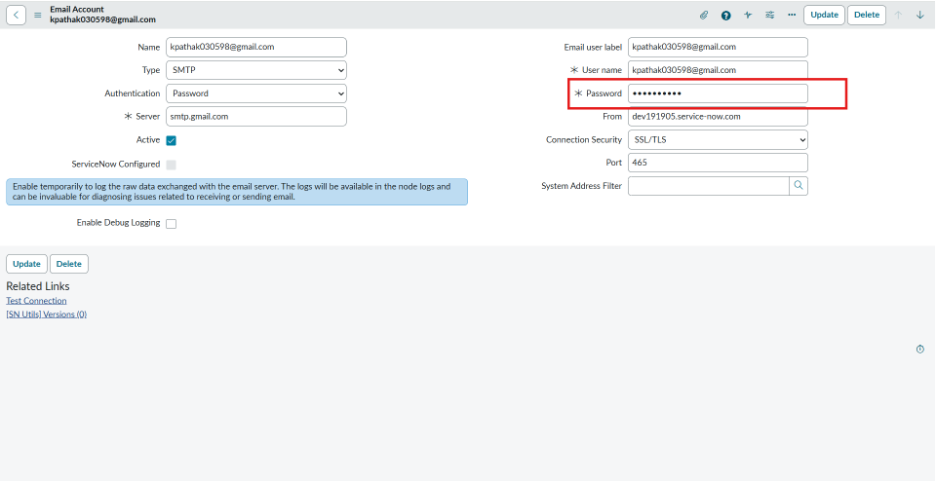
- In the above snapshot, enter the 16-digit passkey you generated earlier into the highlighted Password field. Set the Type as SMTP, as shown in the snapshot.
What is SMTP?
SMTP (Simple Mail Transfer Protocol) is the core protocol used to send emails out from the platform, handling notifications, alerts, and inbound email processing by connecting to mail servers, allowing instances to communicate with users and external systems for automated communication.
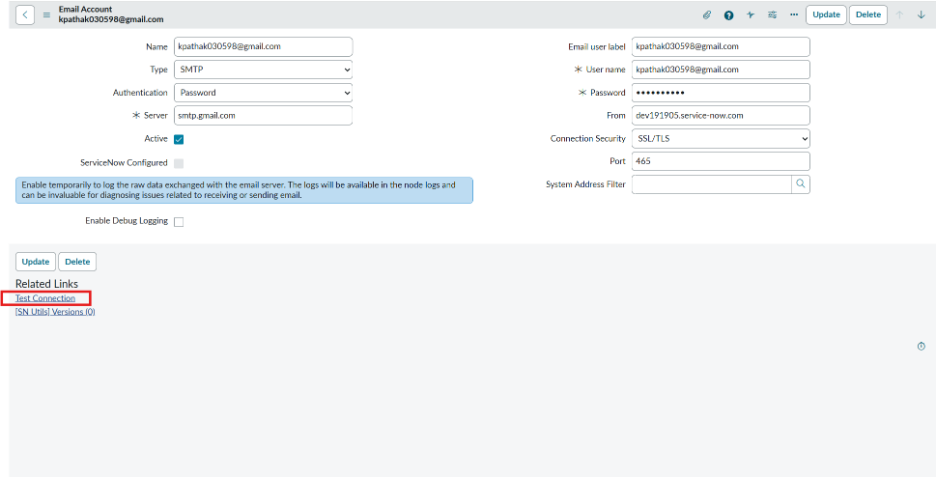
- After completing the configuration, click on Test Connection to verify that the email setup is working successfully.
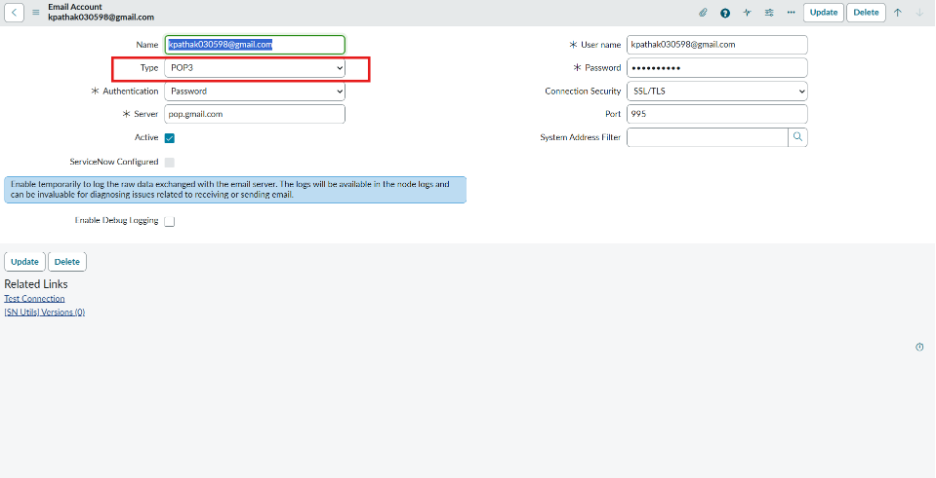
- Now repeat the same procedure for the POP3 connection, ensuring all required details are configured correctly.
- Now create an Email Inbound Action. In the When to Run section, set the Type = Reply and configure the condition as shown in the snapshot below.
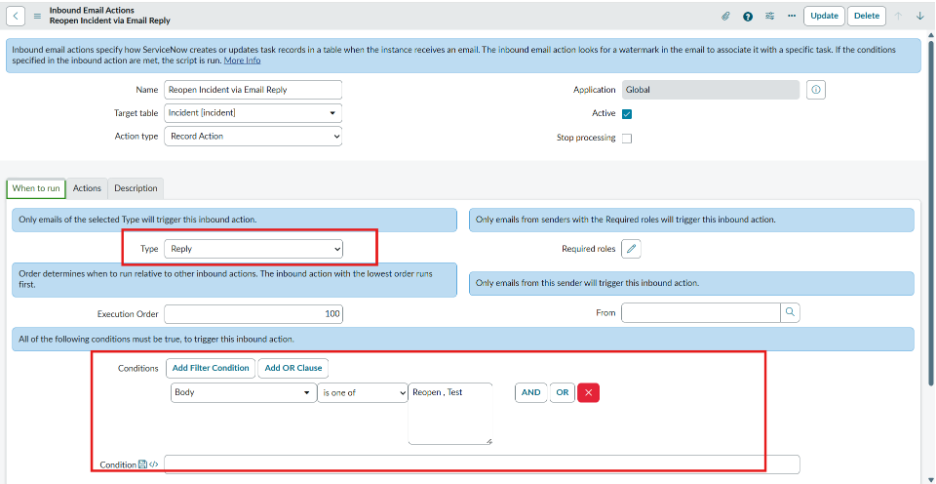
- Next, navigate to the Action section and configure the required conditions. You may also write a script if needed; however, if the conditions are working correctly, writing a script is not necessary.
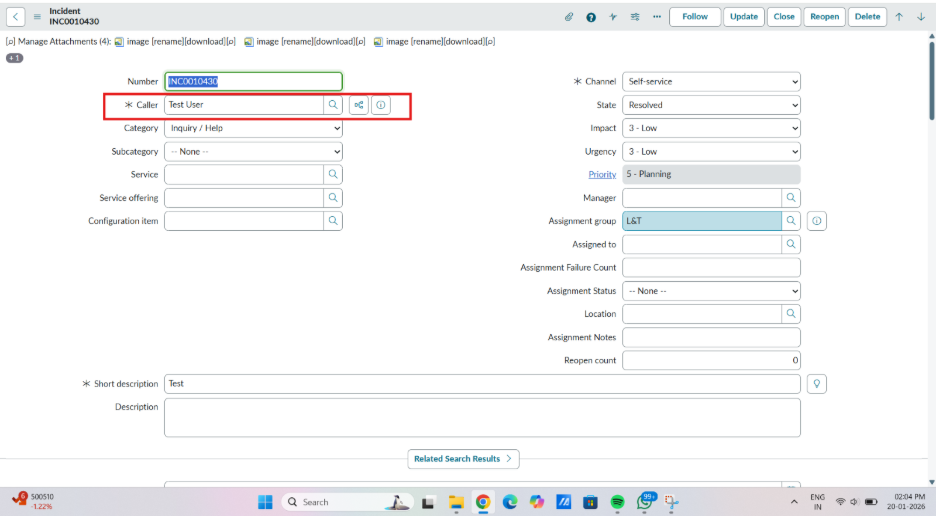
- Now, create an incident using the configured user and resolve the incident, a notification will automatically be sent and delivered to your registered email address.
- Like below, you can see the Gmail you configured, the confirmation email sent through ServiceNow.
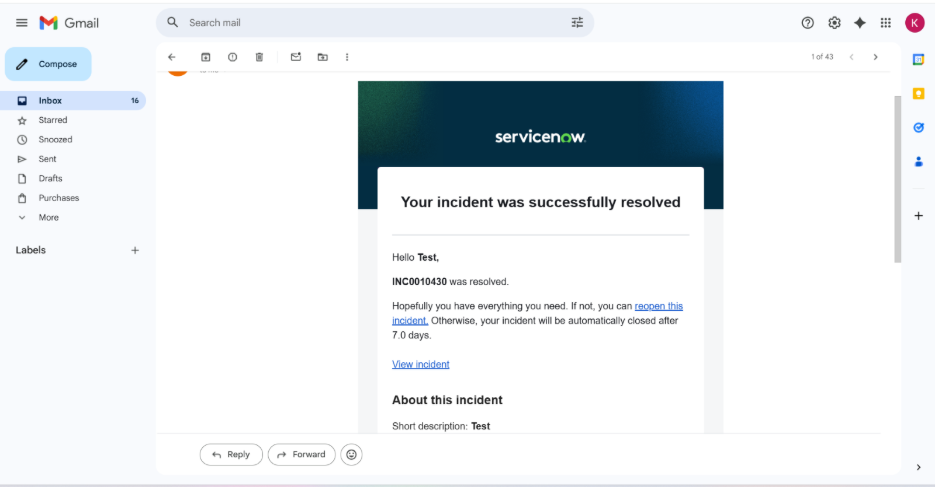
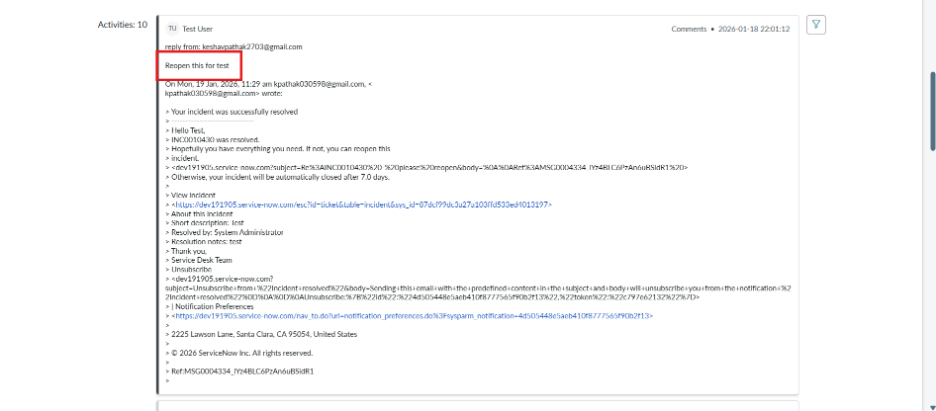
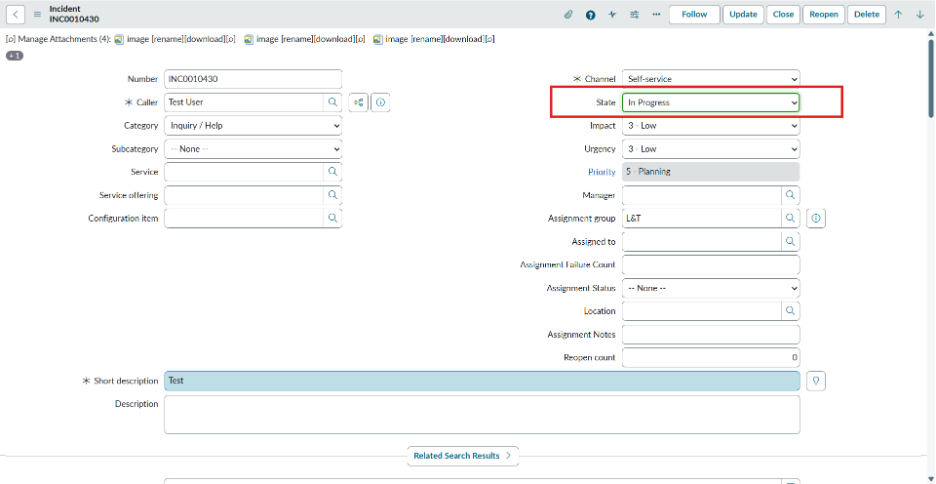
- When you reply to the incident email, the message is automatically populated in the incident activity, and the incident is reopened or moved to the In Progress state.